
MOOIEV BLOG
Film World Building: Characters, Locations, Props and Wardrobe
Build a practical visual reference library in Mooiev, add your own assets and use Scene Kit to review continuity before planning storyboard frames.
In this article 6 sections
Build references the crew can use
A film’s visual world is a set of repeatable decisions. Mara’s jacket, the workshop door, the recorder and the colour of the evening light need to belong to the same scene. A single attractive reference will not explain which details must remain consistent across six camera setups.
Mooiev’s World brings characters, locations, style, wardrobe and props into a project reference collection. Start with descriptions and your own images. Optional generated references can fill a visual gap, but they should follow the film’s existing decisions.
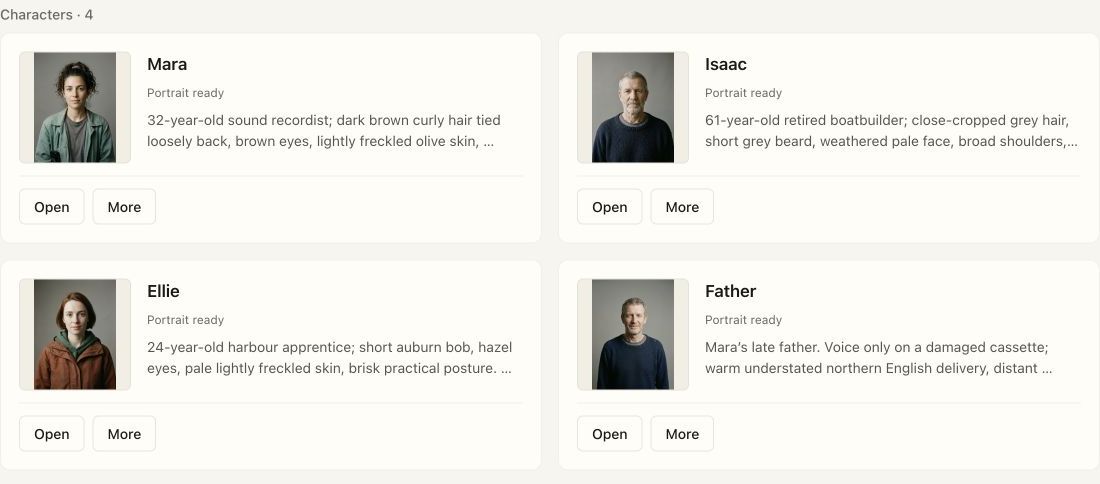
Create characters and the wardrobe they actually wear
Give a character an unambiguous name and the details needed to recognize them. Use a photograph or reference image you are entitled to share. Add a wardrobe look that belongs to that person and scene rather than relying on a general prompt such as “cinematic clothes”.
For Mara, describe the sea-green work jacket, its condition and the layer underneath. Review references for the same face, hair and costume silhouette. If a new outfit is required later in the story, identify it as another look instead of letting the wardrobe drift accidentally.
Describe locations as usable spaces
A location reference should communicate geography as well as mood. Identify entrances, working areas, large furniture and the relationships a camera plan depends on. A beautiful workshop exterior cannot explain where the workbench sits inside the room.
Record the place clearly and review the available set or room references. When planning a reverse angle, check that doors and windows remain in coherent positions. Discuss access and real dimensions with the production; a visual reference does not establish a location agreement or a measured floor plan.
Make props specific enough to stay recognizable
A prop should have a name, description and reference that distinguish it from a generic object. The recorder’s shape, controls and scale matter when an insert cuts to the same object in a wider frame. Upload your own reference or develop one, then check whether it agrees with the planned action.
Separate “this object appears in the scene” from “this object is physically ready for the shoot”. Use the breakdown, relevant notes and equipment planning to communicate sourcing or preparation. A complete image record is only one part of readiness.
Use Style and Scene Kit to review the scene
Style gives the project a shared visual direction. Scene Kit focuses the reference review on the cast, place, wardrobe and objects used by a particular scene, including its light, weather and time context. Work through what is ready and what is missing before generating or approving coverage.
For the workshop’s blue-hour scene, compare all six planned frames together. Check the same jacket, workbench, recorder and window light. If a frame contradicts the scene, fix the reference or framing decision that produced the problem rather than treating continuity as a final cosmetic pass.
Choose manual work and generation deliberately
Add and edit the records yourself when you already know the answer. Upload real wardrobe or location references when they communicate more than a generated image. Use generation when you need to explore an idea, then review the result against the same continuity checklist.
The best reference workflow gives the next department a clear decision. An image that looks impressive but changes the character, costume or geography makes the production harder to understand. Keep the approved references connected to the scene and its shots.
Review generated storyboards for continuity